How to open a Binance Futures account
Video tutorial available here
Before opening a Binance Futures account, you need a regular Binance account. If you don’t have one, you can go to Binance and click on Register in the top right corner of your screen. Then follow these steps:
- Enter the email address that you would like to use, and choose a safe password. If you have a referral ID, paste it in the referral ID box. For a 10% discount on spot/margin trading fees, you can use this link.
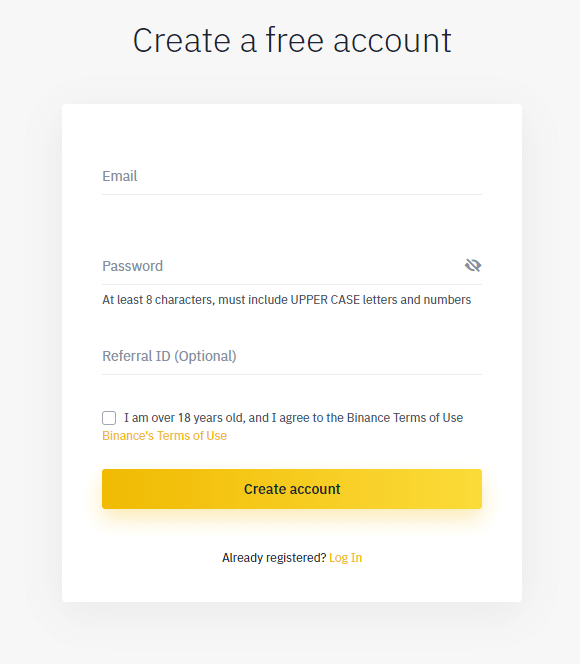
- When you are ready, click on Create account.
- You will receive a verification email shortly. Follow the instructions in the email to complete your registration.
Next, log in to your Binance account, move your mouse to the bar at the top of the page, hover over Futures, and click on Futures.

Once you are on the Binance Futures page, you should be able to see the first two characters of your email address associated with your account in the top right corner.

Click on the Open now button in the bottom right corner to activate your Binance Futures account. And that’s it, you’re ready to trade!
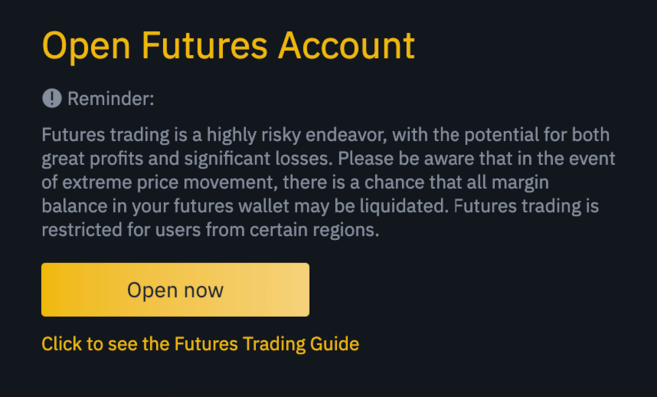
If you are not familiar with trading futures contracts, we recommend reading the articles What Are Forward and Futures Contracts?, and What Are Perpetual Futures Contracts? before getting started.
You may also refer to the Binance Futures FAQ to get an overview of the contract specifications.
If you would like to test out the platform without risking real funds, you can try out the Binance Futures testnet.
How to fund your Binance Futures account
Video tutorial available here
You can transfer funds back and forth between your Exchange Wallet (the wallet that you use on Binance) and your Futures Wallet (the wallet that you use on Binance Futures).
If you don’t have any funds deposited to Binance, we recommend reading the guide How to Deposit on Binance.
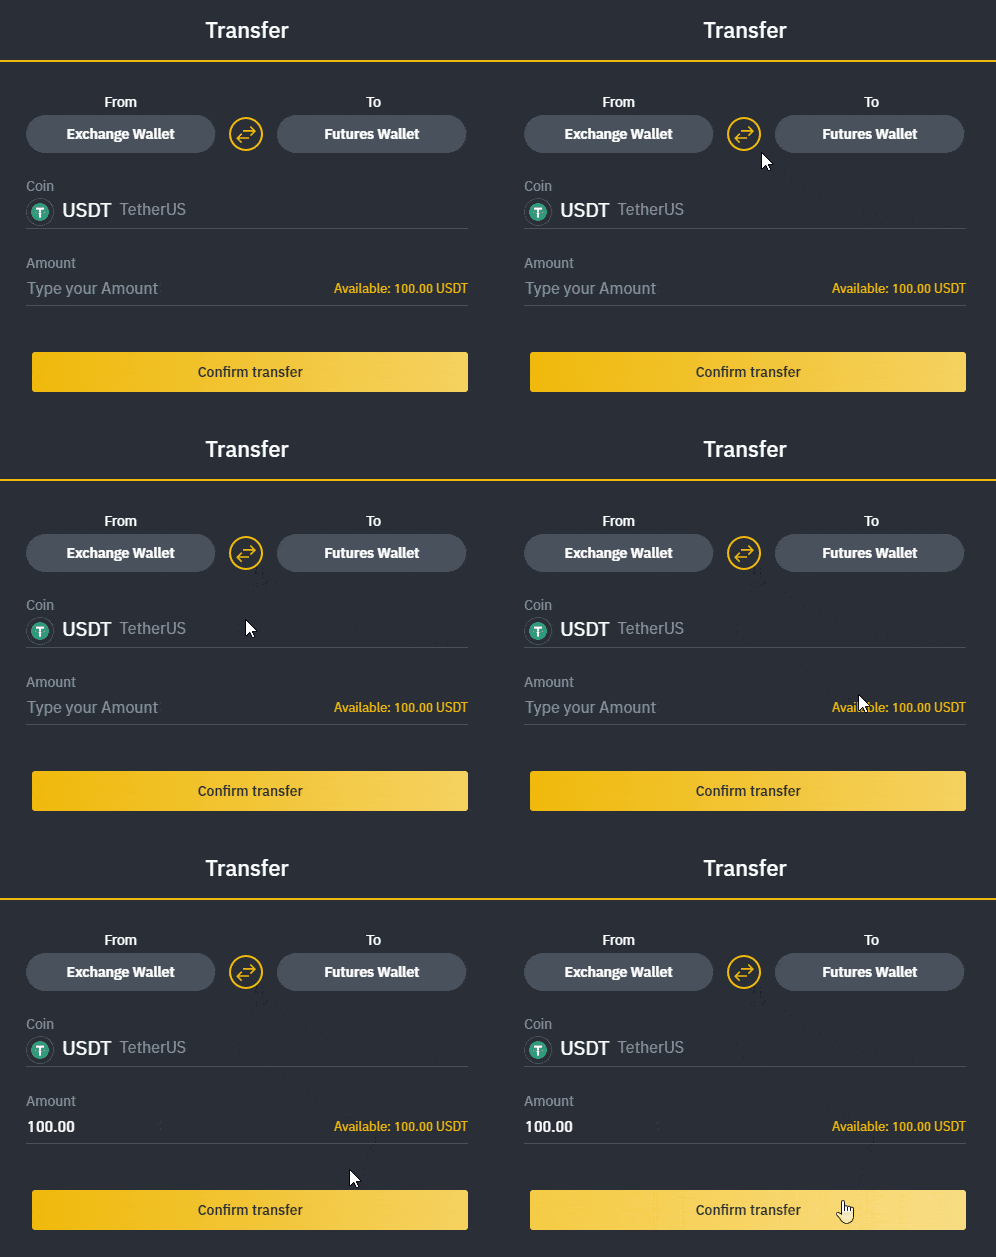
To transfer funds to your Futures Wallet, click on Transfer in the bottom right corner of the Binance Futures page. Set the amount that you would like to transfer, and click on Confirm transfer. You should be able to see the balance added to your Futures Wallet shortly.
Binance Futures interface guide
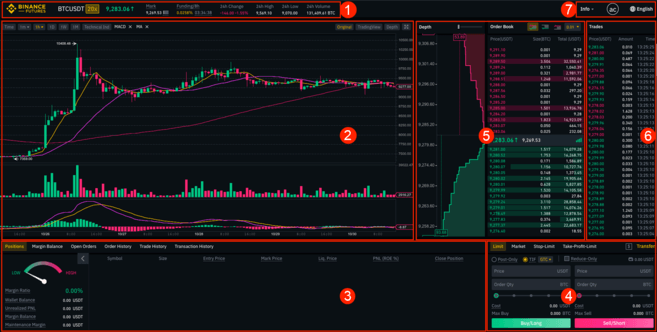
- This is where you can:
- Check and adjust your leverage (20x by default).
- Check the Mark Price (important to keep an eye on, as liquidations happen based on the Mark Price).
- Check the expected funding rate.
- Monitor your position in the auto-deleverage queue (important to pay attention to during periods of high volatility).
- Check various other market data, such as 24h change and 24h volume.
- This is your chart. In the top right corner of this area, you can switch between the Original or the integrated TradingView chart, or get a real-time visual representation of the current order book depth by clicking on Depth.
- This is where you can monitor your trading activity. You can switch between the tabs to check the current status of your positions, your margin balance, see your currently open and previously executed orders, and get a full trading and transaction history for a given period.
- This is where you can enter your orders, and switch between different order types. This is also where you can check your fee tier, and transfer funds from your Binance account.
- This is where you can see live order book data along with a visualization of order depth. You can adjust the accuracy of the order book in the dropdown menu on the top right corner of this area (0.01 by default).
- This is where you can see a live feed of the trade history of Binance Futures.
- By hovering on Info, you can get access to the Futures FAQ, check the historical funding rates, and the current balance of the Insurance Fund. If you wish to log out of Binance Futures, you can also do that from here.
How to adjust your leverage
Video tutorial available here
Binance Futures allows you to adjust the leverage manually. To do so, go to the top of the page, and click on the yellow box indicating your current leverage amount (20x by default). Specify the amount of leverage by adjusting the slider, or by typing it in, and click on Confirm.
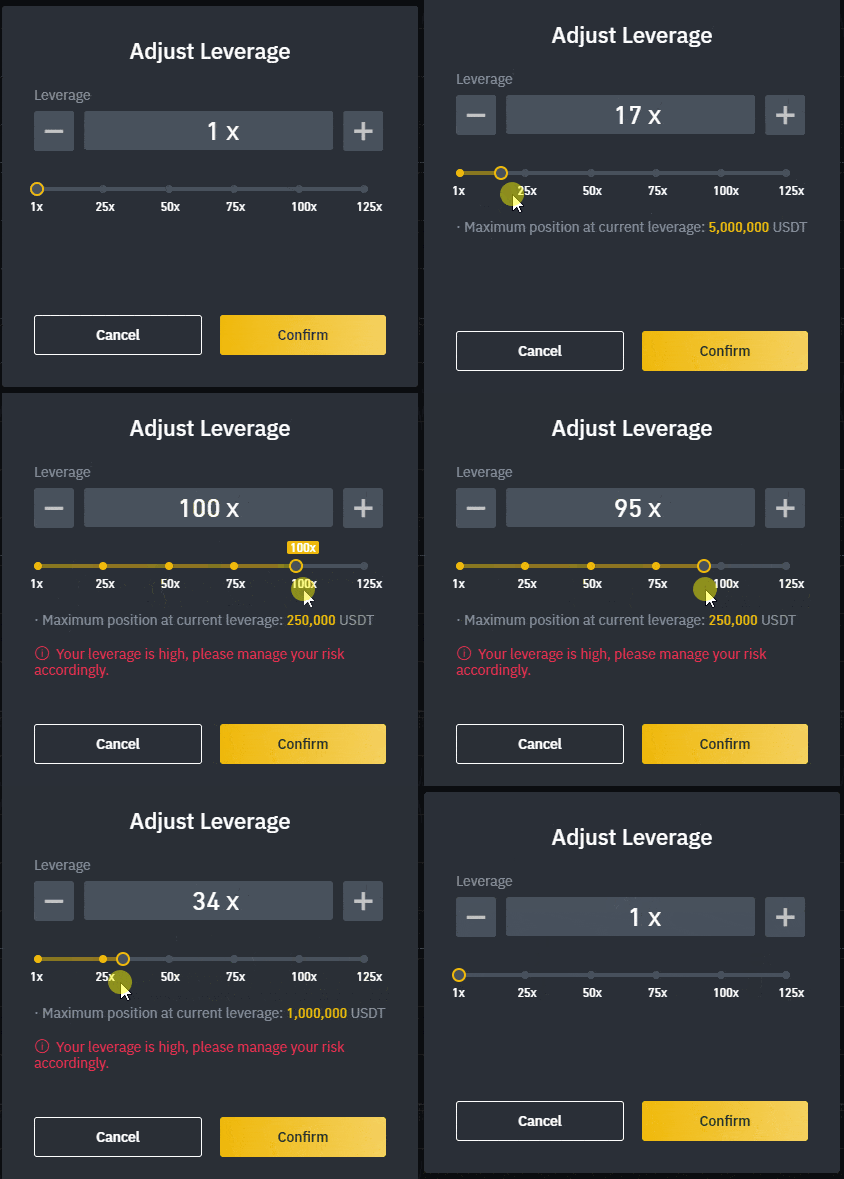
It is worth noting that the larger the position size is, the smaller the amount of leverage is that you can use. Similarly, the smaller the position size, the larger the leverage you can use.
Please note that using higher leverage carries a higher risk of liquidation. Novice traders should carefully consider the amount of leverage that they use.
What is the difference between mark price and last price?
To avoid spikes and unnecessary liquidations during periods of high volatility, Binance Futures uses last price and mark price.
Last price is easy to understand. It means the last price that the contract was traded at. In other words, the last trade in the trading history defines the last price. Last price is used for calculating your realized PnL (Profit and Loss).
Mark price is designed to prevent price manipulation. The mark price is calculated using a combination of funding data and a basket of price data from multiple spot exchanges. Mark price is used for liquidations and calculating your unrealized PnL.
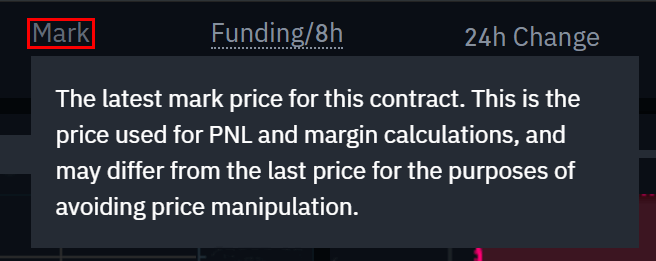
Please note that the mark price and the last price may differ.
When you set an order type that uses a stop price as a trigger, you can select which price you would like to use as the trigger - the last price or the mark price. To do this, select the price you wish to use in the Trigger dropdown menu in the order entry field.
What order types are available and when to use them?
There are six order types that you can use on Binance Futures:
- Limit: A limit order is an order that you place on the order book with a specific limit price that is determined by you. When you place a limit order, the trade will only be executed if the market price reaches your limit price (or better). Therefore, you may use limit orders to buy at a lower price, or to sell at a higher price than the current market price.
- Market: A market order is an order to buy or sell at the best available current price. It is executed against the limit orders that were previously placed on the order book. When placing a market order, you will pay fees as a market taker.
- Stop-Limit: The easiest way to understand a stop-limit order is to break it down into stop price, and limit price. The stop price is simply the price that triggers the limit order, and the limit price is the price of the limit order that is triggered. This means that once your stop price has been reached, your limit order will be immediately placed on the order book.Although the stop and limit prices can be the same, this is not a requirement. In fact, it would be safer for you to set the stop price (trigger price) a bit higher than the limit price for sell orders, or a bit lower than the limit price for buy orders. This increases the chances of your limit order getting filled after the stop price is reached.
- Stop-Market: Similarly to a stop-limit order, a stop-market order uses a stop price as a trigger. However, when the stop price is reached, it triggers a market order instead.
- Take-Profit-Limit: If you understand what a stop-limit order is, you will easily understand what a take-profit-limit order is. Similarly to a stop-limit order, it involves a trigger price, the price that triggers the order, and a limit price, the price of the limit order that is then added to the order book. The key difference between a stop-limit order and a take-profit-limit order is that a take-profit-limit order can only be used to reduce open positions.A take-profit-limit order can be a useful tool to manage risk and lock in profit at specified price levels. It can also be used in conjunction with other order types, such as stop-limit orders, allowing you to have more control over your positions.Please note that these are not OCO orders. For example, if your stop-limit order is hit while you also have an active take-profit-limit order, the take-profit-limit order remains active until you manually cancel it.
- Take-Profit-Market: Similarly to a take-profit-limit order, a take-profit-market order uses a stop price as a trigger. However, when the stop price is reached, it triggers a market order instead.
What is Post-Only, Time in Force and Reduce-Only?
When you use limit orders, you can set additional instructions along with your orders. On Binance Futures, these can either be Post-Only or Time in Force (TIF) instructions, and they determine additional characteristics of your limit orders.
Post-Only means that your order will always be added to the order book first and will never execute against an existing order in the order book. This is useful if you would only like to pay maker fees. You can quickly check your current fee tier by hovering over the $ sign next to the Transfer button.
TIF instructions allow you to specify the amount of time that your orders will remain active before they are executed or expired. You can select one of these options for TIF instructions:
- GTC (Good Till Cancel): The order will remain active until it is either filled or canceled.
- IOC (Immediate Or Cancel): The order will execute immediately (either fully or partially). If it is only partially executed, the unfilled portion of the order will be canceled.
- FOK (Fill Or Kill): The order must be fully filled immediately. If not, it won’t be executed at all.
Additionally, when you use either a limit or a market order, ticking the Reduce-Only checkbox will ensure that new orders you set will only decrease, and never increase your currently open positions.
When are your positions at risk of getting liquidated?
Liquidation happens when your Margin Balance falls below the required Maintenance Margin. The Margin Balance is the balance of your Binance Futures account, including your unrealized PnL (Profit and Loss). So, your profits and losses will cause the Margin Balance value to change.
The Maintenance Margin is the minimum value you need to keep your positions open. It varies according to the size of your positions. Larger positions require higher Maintenance Margin.
You can find a useful tool under the Positions tab at the bottom left corner of the page. It helps you quickly track the current risk of your open positions getting liquidated. If your Margin Ratio reaches 100%, your positions will be liquidated.

When liquidation happens, all of your open orders are canceled. Ideally, you should keep track of your positions to avoid auto-liquidation, which comes with an additional fee. If your position is close to being liquidated, it may be beneficial to consider manually closing the position instead of waiting for the auto-liquidation.
What is auto-deleveraging and how can it affect you?
When a trader’s account size goes below 0, the Insurance Fund is used to cover the losses. However, in some exceptionally volatile market environments, the Insurance Fund may be unable to handle the losses, and open positions have to be reduced to cover them. This means that in times like these, your open positions can also be at risk of being reduced.
The order of these position reductions is determined by a queue, where the most profitable and the highest leveraged traders are at the front of the queue. You can check your current position in the queue by hovering over the indicator at the top of the page.


